AWS IoT Core Bridging
AWS IoT Core is one of the widely used public cloud IoT services in Europe and the United States. However, because it is not fully aligned with the standard MQTT protocol and does not support QoS 2 messages, standard MQTT SDKs are not seamlessly compatible.
AWS IoT Core bridging is now built into NanoMQ to help users address compatibility issues. NanoMQ is responsible for forwarding the received data of the specified topic to the remote AWS IoT MQTT Broker, and also subscribes to a specific topic from the broker in order to receive the data and forward it locally.
Due to the conflict between the AWS IoT SDK and NanoMQ's QUIC dependency - MsQUIC on the OpenSSL reference version, NanoMQ does not enable and build this bridging feature into the standard distribution by default. To enable AWS IoT Core bridging, compile & install NanoMQ from source code is required. This document section describes how to enable AWS IoT Core bridging and configure it via the configuration file nanomq.conf, and test the new bridge channel.
Compile & Install AWS IoT Core bridging Feature
First step, install AWS IoT Device SDK on your building environment.
Install AWS SDK
wget https://github.com/aws/aws-iot-device-sdk-embedded-C/releases/download/202108.00/aws-iot-device-sdk-embedded-C-202108.00.zip

unzip aws-iot-device-sdk-embedded-C-202108.00.zip
cd aws-iot-device-sdk-embedded-C

mkdir build && cd build
cmake -G Ninja -DBUILD_DEMOS=OFF -DCMAKE_C_STANDARD=99 -DINSTALL_TO_SYSTEM=ON ..
ninja

sudo ninja install
sudo cp ../demos/logging-stack/logging_*.h  /usr/local/include/aws/
sudo ldconfig
Find more information about AWS IoT Device SDK on the GitHub page
Build NanoMQ from Source Code
git clone https://github.com/emqx/nanomq.git
## need to fetch NanoNNG submodule,MsQUIC is not needed in this case
cd nanomq git submodule update --init --recursive
mkdir build && cd build
## Enable AWS_BRIDGE option(but disable QUIC)
cmake -G Ninja -DENABLE_AWS_BRIDGE=ON -DNNG_ENABLE_QUIC=OFF ..
sudo ninja install
Configure AWS IoT Core
Here's how to configure it on the AWS IoT Core side. Note: The Configuration presented in this doc could be invalidated due to updates and modifications to AWS services. For details about how to configure it, see docs from the official website.
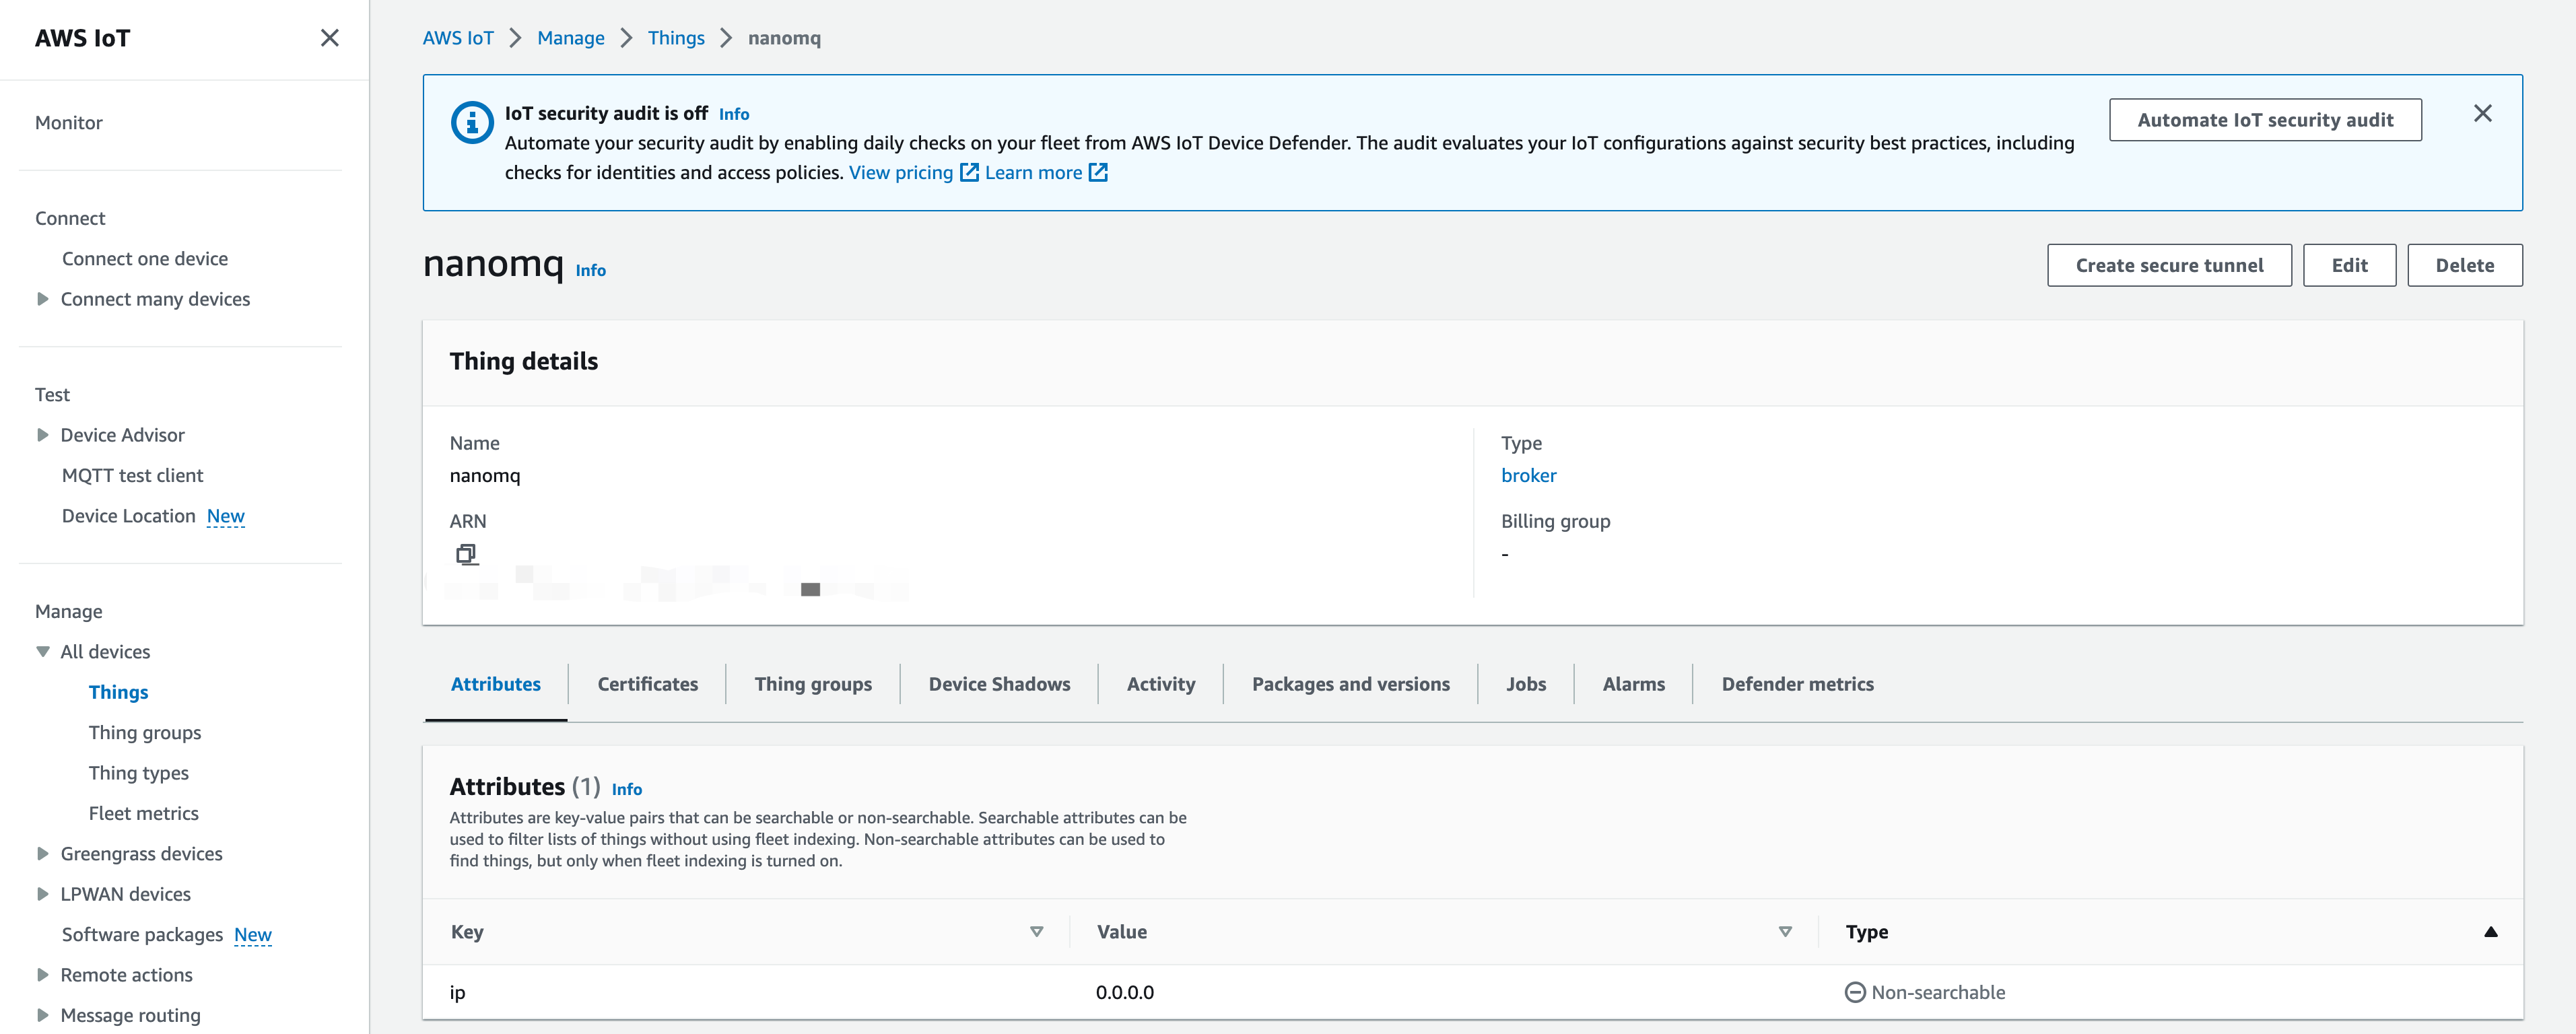
At Manage -> All devices -> Things page, You can create new objects and groups, with corresponding Certification/Topics/Device Shadows etc.
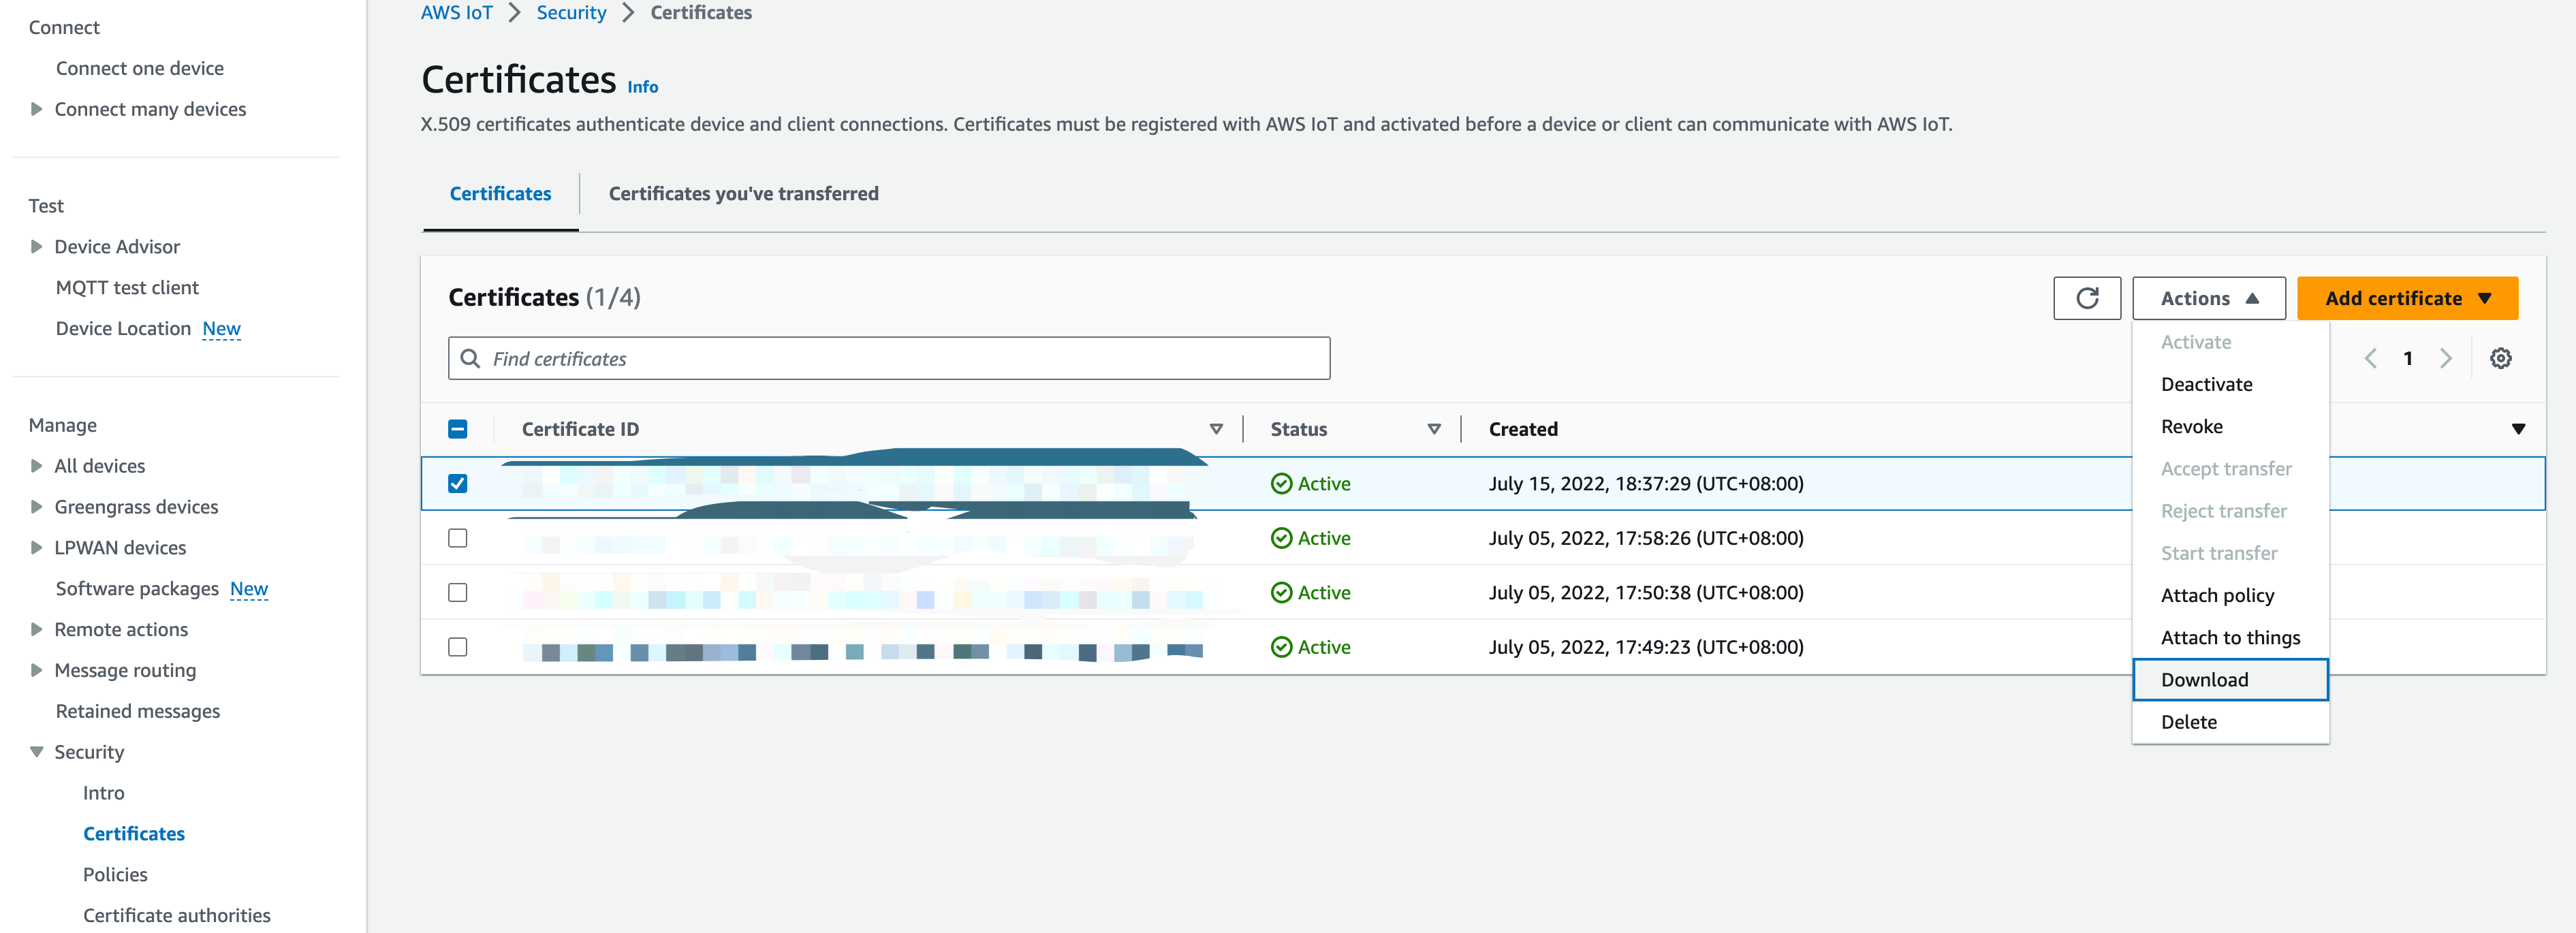
Download your Certificates at Security -> Certificates page. Attach Policy to Certificates and attach Certificates to Things.
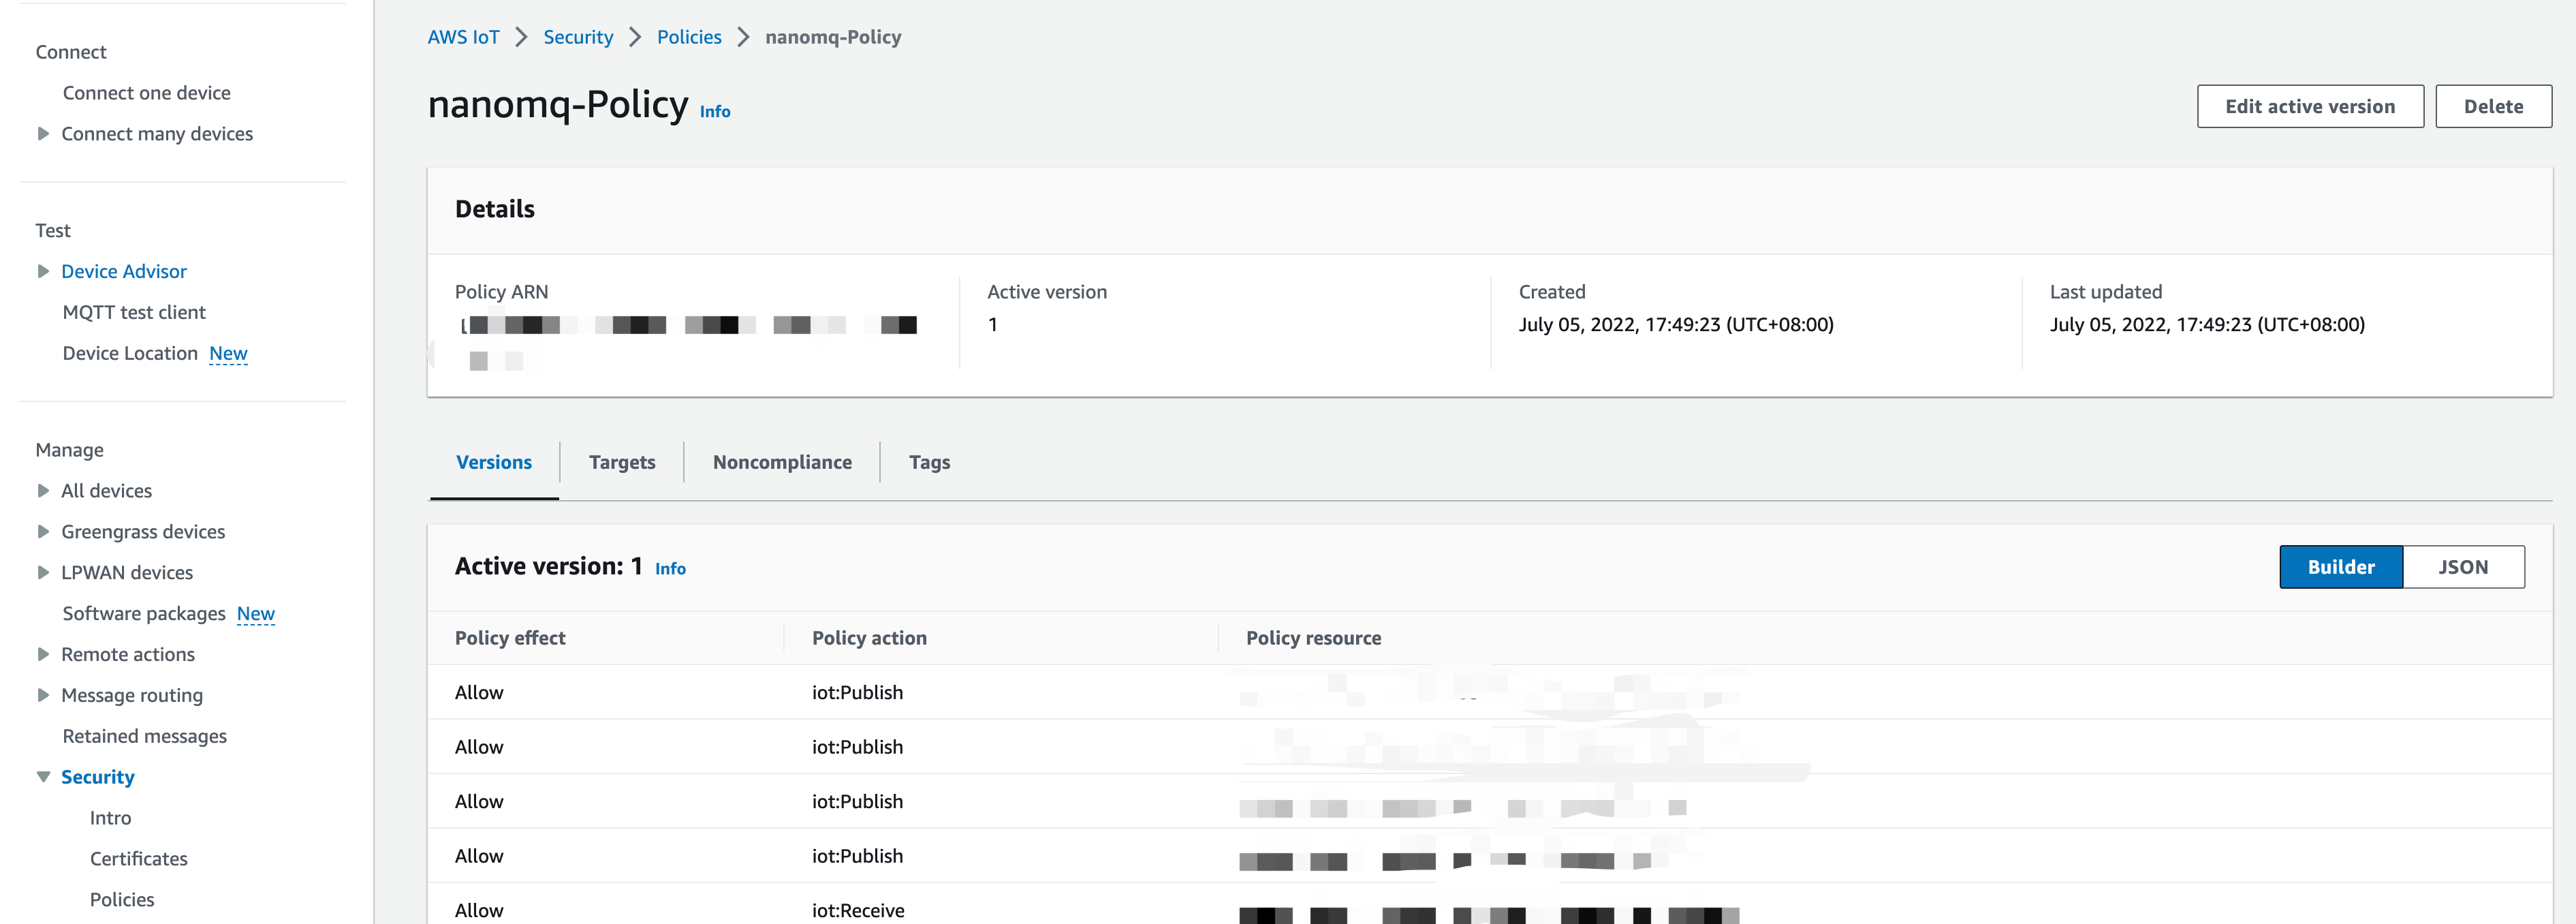
Create a corresponding MQTT client behavior authentication policy at Security-> Policies page. And defines the client identifier, publish/subscribe topics, these parameters will be used in NanoMQ Bridge.
Configure NanoMQ Bridge
After you successfully installed NanoMQ with AWS IoT Core Bridge enabled, you need to modify the bridge functionality and corresponding parameters and topics in the configuration file; for example, in the following configuration file, we define the server domain URL, connection credentials, connection parameters, message forwarding Topics, subscription Topics, and queue length for the AWS IoT Core bridge. Note: The MQTT ClientID, certificate file, and subscription/publication topic in the configuration file must match the policy definition defined on the AWS IoT Core side, otherwise, data will not be available and the connection will be rejected.
Note: The MQTT ClientID, certificate file, and subscription/publication topic in the configuration file need to match the policy definition defined on the AWS IoT Core side, otherwise data will not be available and the connection will be rejected.
TIP
Unlike standard MQTT Broker, SSL/TLS is compulsory in AWS IoT Core, Client's Certificates and ID must match Cloud settings.
Key configuration items:
aws.bridge.mqtt.aws.host:Remote AWS IoT Core URL,You can get it from AWS IoT Core Dashboard.aws.bridge.mqtt.aws.clientid:Client Identifier,Must mathc the Client setting iniot:Connectof Security->PoliciesWhen you set up publish/subscribe topics and QoS in NanoMQ, make sure they match the ones you set in your AWS IoT security policies:
iot:Subscribe,iot:Publish,iot:Receive,iot:RetainPublish. Otherwise,messages will not be accepted due to authorization failure.Related configuration items:
- Publishing Topics:
aws.bridge.mqtt.aws.forwards.1.remote_topic - Publishing Topics(local topic with reflection):
aws.bridge.mqtt.aws.forwards.1.local_topic - Subscription Topics:
aws.bridge.mqtt.aws.subscription.1.remote_topic - Subscription Topics(local topic with reflection):
aws.bridge.mqtt.aws.subscription.1.local_topic - Message QoS:
aws.bridge.mqtt.aws.subscription.1.qos
- Publishing Topics:
When you configure SSL/TLS certificates in NanoMQ, you need to ensure that these certificate files match the certificates required for the type of item created in the AWS IoT Core Dashboard. Related configuration items:
aws.bridge.mqtt.aws.tls.keyfileaws.bridge.mqtt.aws.tls.certfileaws.bridge.mqtt.aws.tls.cacertfile
Start NanoMQ Bridging
You can start NanoMQ with --conf to specify a path of your own configuration file.(Not necessary if the config file is located in etc folder).
Testing Bridge
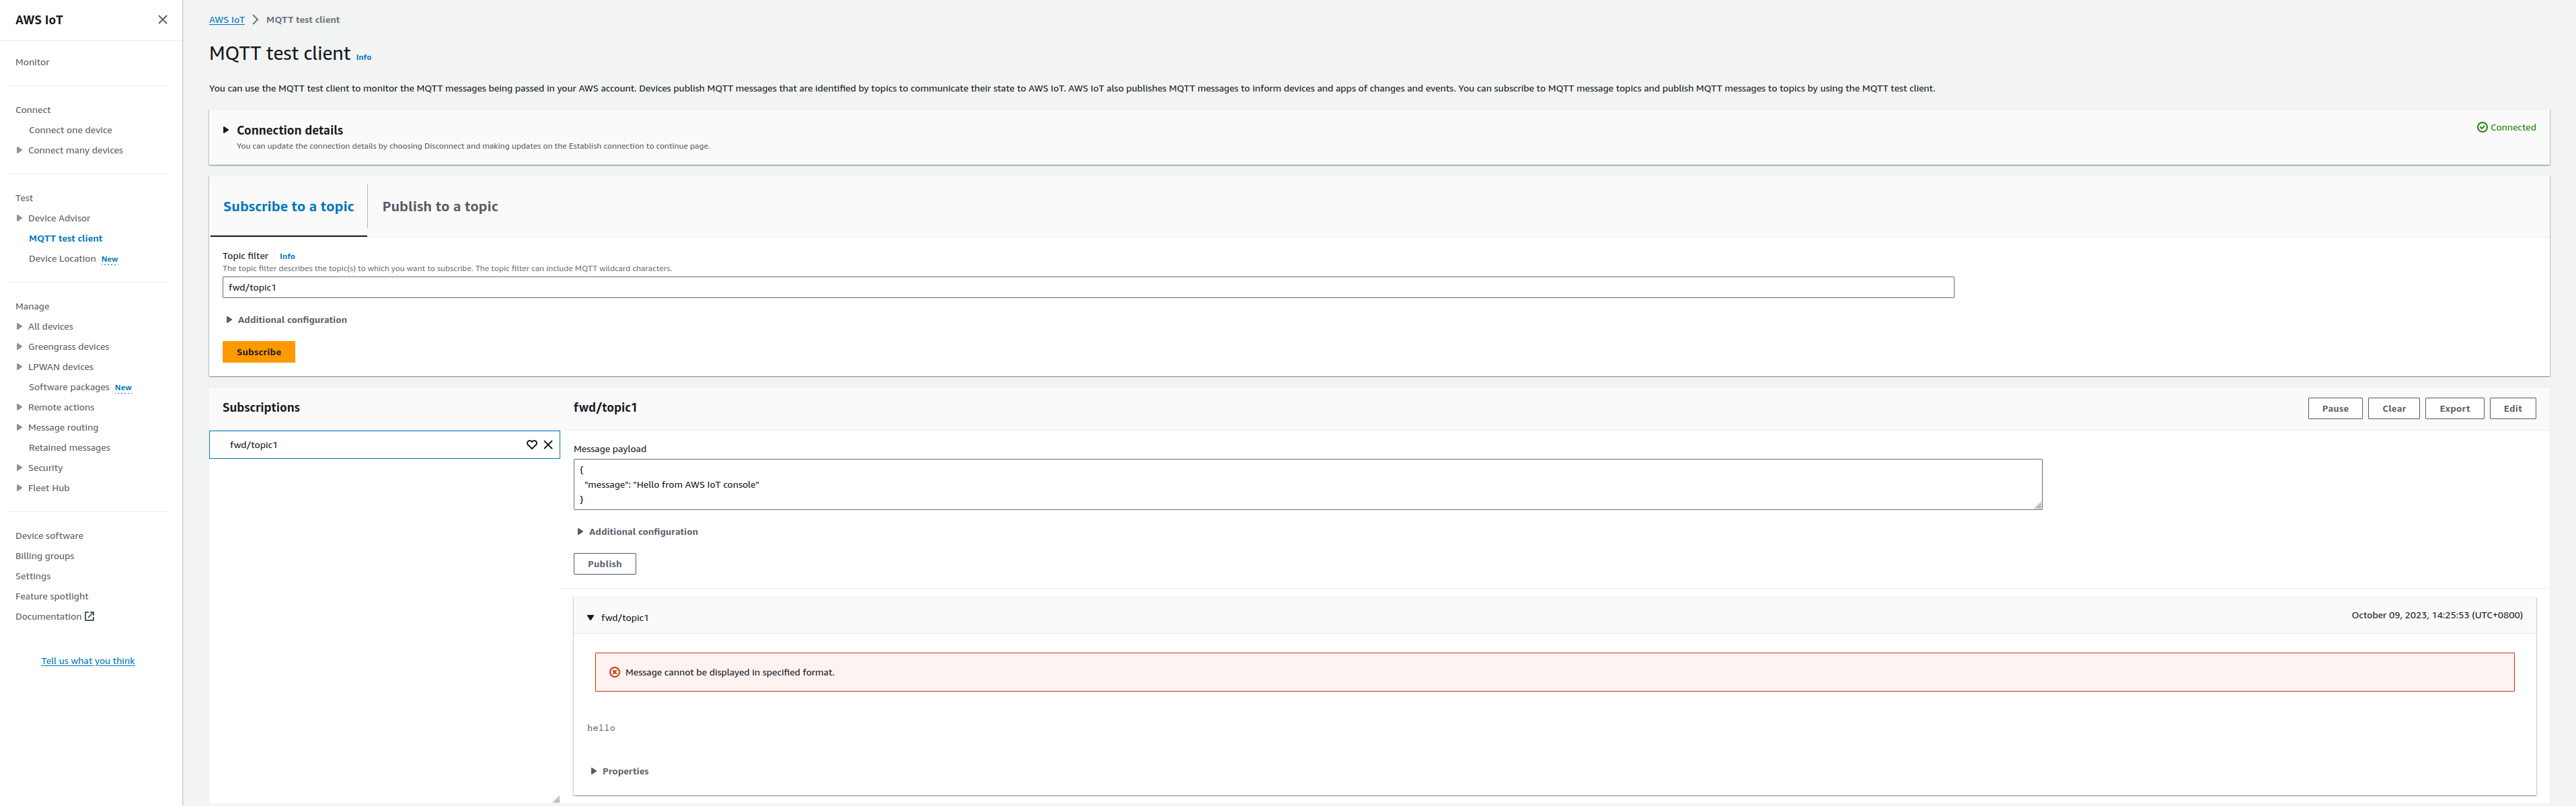
Now you can verify whether the bridging channel is working by publishing a message to NanoMQ. Then check on the MQTT test client tool in AWS IoT Core.
For example, publish a message hello locally to the bridge topic topic1 of NanoMQ,
$ ./nanomq_cli pub -h "local.broker.address" -t "topic1" -m "hello" -q 1On AWS MQTT test client menu:
NanoMQ Log:
establish_mqtt_session: MQTT connection successfully established with broker.
subscribe_to_topic: SUBSCRIBE to broker successfully.
event_cb: Subscribed to the topic successfully.